3.3 KiB
How to create a CC2530 router
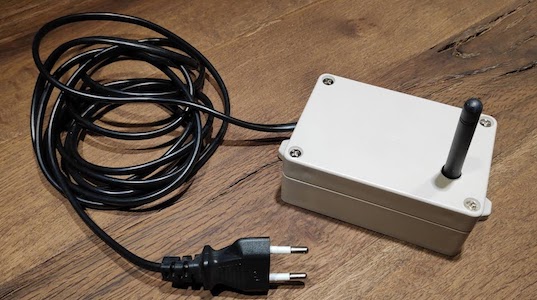
The CC2530 is highly suitable for serving as a router. It has an external antenna which will greatly improve the range of your Zigbee network. This tutorial will explain how to create a CC2530 router packed into a nice enclosure which can be powered via any regular outlet.
DISCLAIMER: The CC2530 router will use Mains AC so there is a danger of electrocution if not installed properly. If you don't know how to install it, please call an electrician!
1. What do I need?
2. Flashing the CC2530
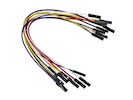
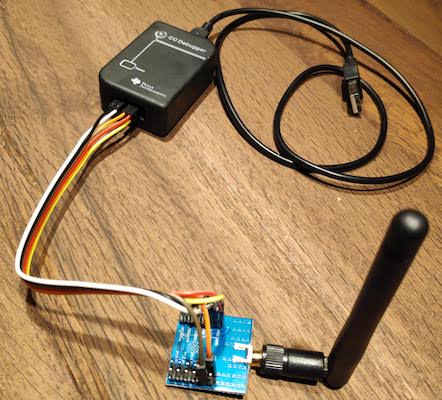
The CC2530 has to be flashed with a router firmware which has to be done with a CC debugger using 6 female to female jumper wires. Pins have to connected as follows:
CC debugger pin layout
| CC debugger | CC2530 |
|---|---|
| 1 | GND |
| 2 | VCC |
| 3 | P2.2 |
| 4 | P2.1 |
| 7 | RST |
| 9 | VCC |
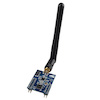
Pin layout of various CC2530 modules
| Name | Pin layout | Picture |
|---|---|---|
| CC2530 | 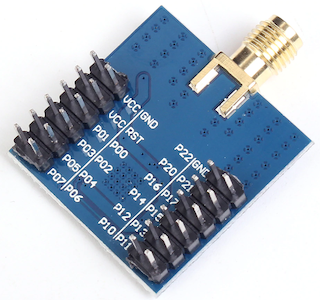 |
 |
| Webee CC2530 + CC2591 | 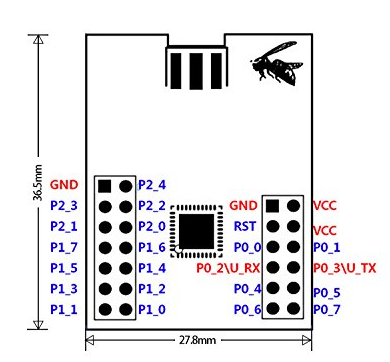 |
 |
Flashing
Now the CC2530 can be flashed using the same instructions as Flashing the CC2531. The router firmwares can be found here.
3. Putting it in an enclosure
The following steps have to be followed:
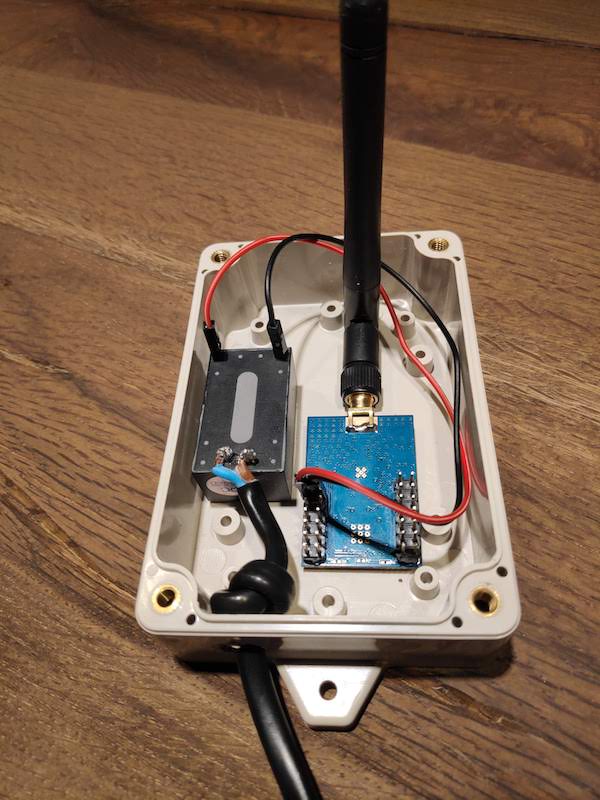
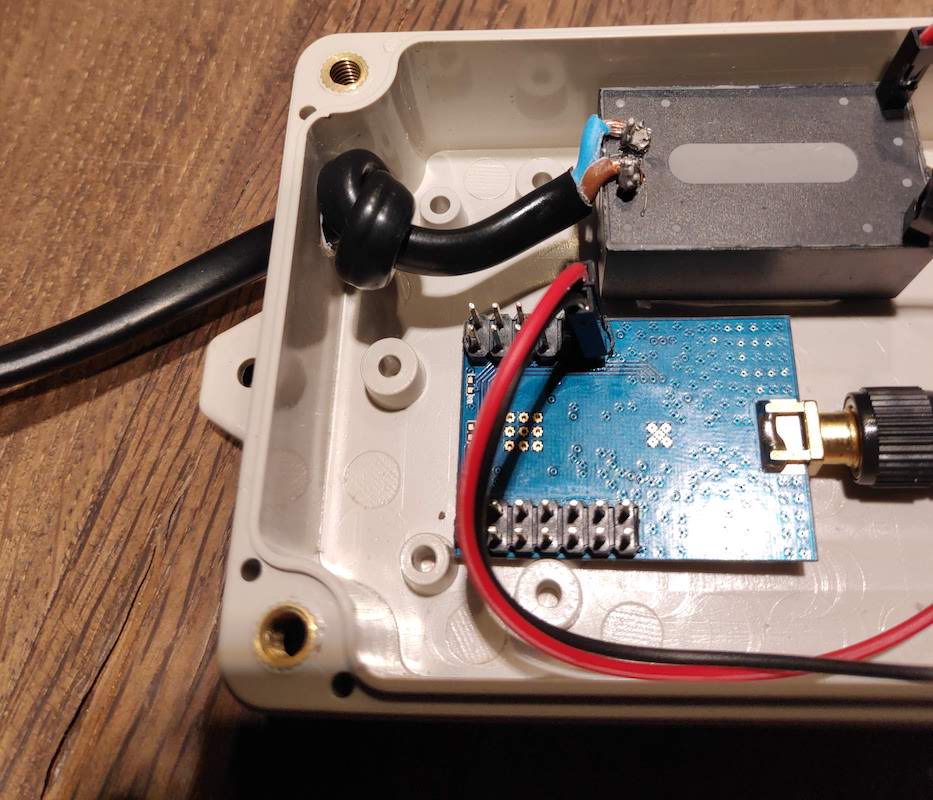
- Drill 2 holes in the enclosure; one for the antenna, one for the power cable
- Lay a knot in the power cable; this serves as strain relief
- Solder the power cable on to the AC pins of the HLK-PM03
- Use 2 female to female jumper wires to connect the VC+ pin of the HLK-PM03 to the VCC pin of the CC2530 and the VC- pin of the HLK-PM03 to the GND pin of the CC2530
- Use double sided tape to fix the CC2530 and HLK-PM03 into the enclosure
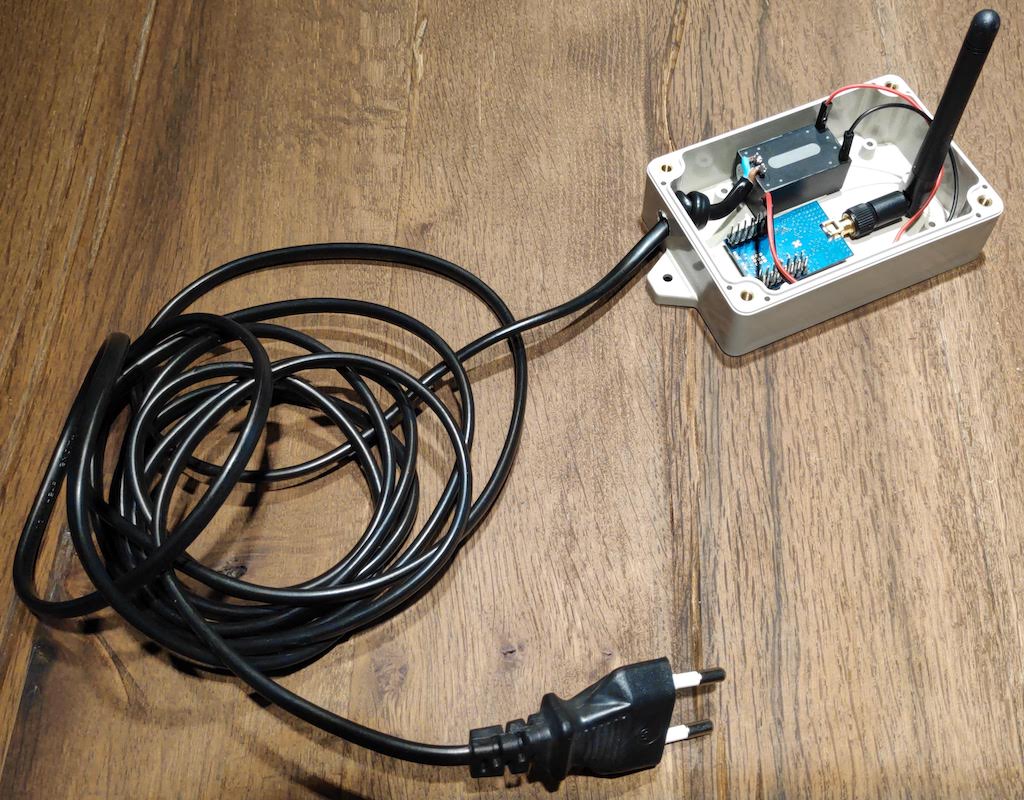
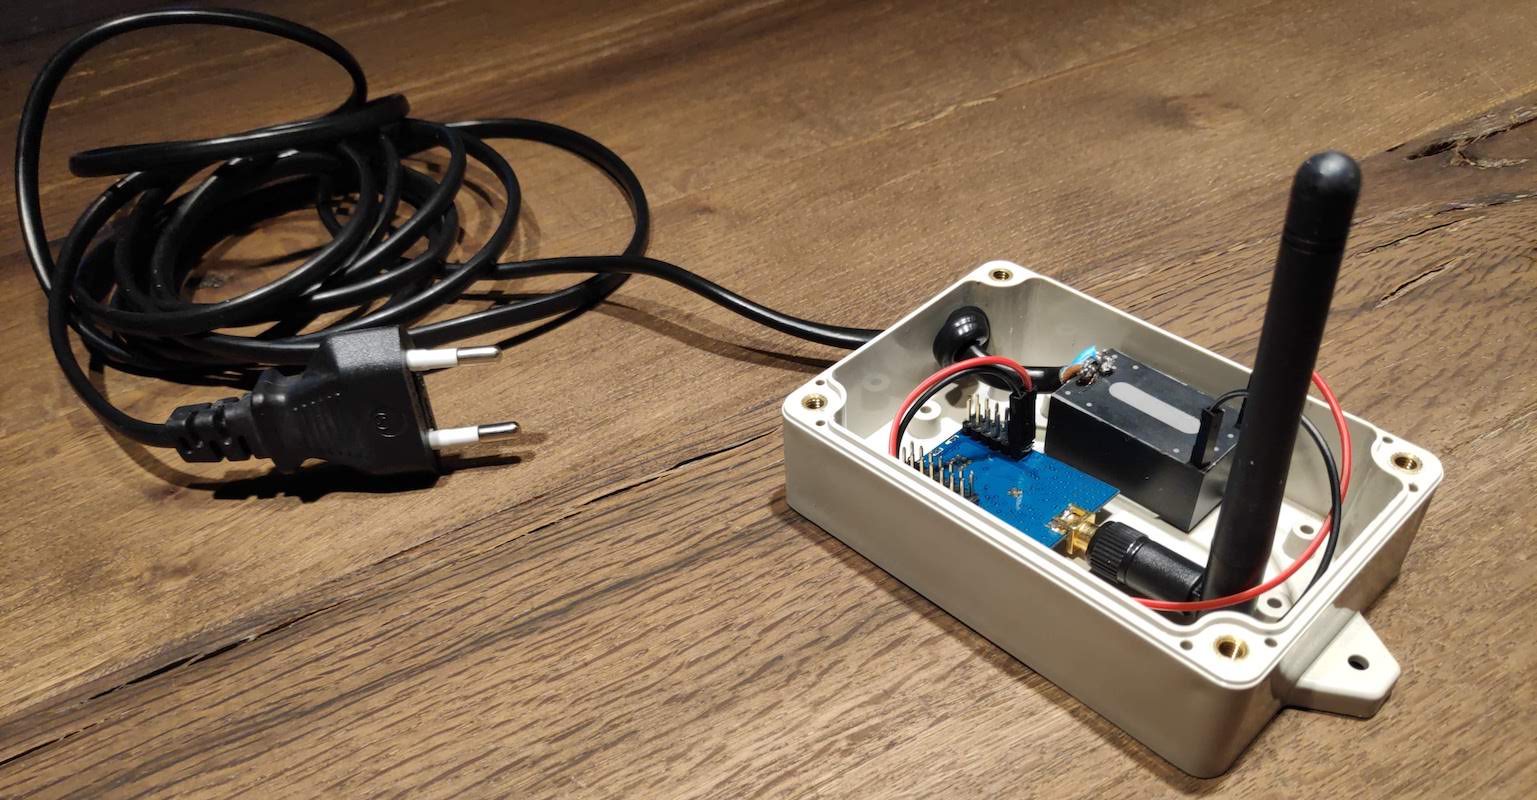
Result
4. Done!
Now plug the CC2530 into a power outlet where it will automatically join your Zigbee network. (don't forget to set permit_join: true to enable joining of new devices). Enjoy your extended Zigbee network range! 😄
